반응형

스폰로케이션
탐색기 - StarterPlayerScripts - Local Script 3개 추가

컨트롤 스크립트
local player = game.Players.LocalPlayer
local UserInputService = game:GetService("UserInputService")
local ContextActionService = game:GetService("ContextActionService")

local doJump = false
local reviving = false
local characterWalkSpeed = 40

game.StarterGui:SetCoreGuiEnabled(Enum.CoreGuiType.Chat, false)
game.StarterGui:SetCoreGuiEnabled(Enum.CoreGuiType.Health, false)
game.StarterGui:SetCoreGuiEnabled(Enum.CoreGuiType.Backpack, false)

local function jump()
	if player.Character ~= nil then
		if player.Character.Humanoid.WalkSpeed == 0 then
			-- Character is not yet moving, start screen was shown
			doJump = false
			if player.PlayerGui.StartScreen.StartInstructions.Visible == true then
				player.PlayerGui.StartScreen:Destroy()
				player.Character.Humanoid.WalkSpeed = characterWalkSpeed
				game.ReplicatedStorage.RemoteEvents.RunStarting:FireServer()
			end
		else
			player.Character.Humanoid.Jump = true
		end
	end
end

if UserInputService.TouchEnabled then
	UserInputService.ModalEnabled = true
	UserInputService.TouchStarted:connect(function(inputObject, gameProcessedEvent) if gameProcessedEvent == false then doJump = true end end)
	UserInputService.TouchEnded:connect(function() doJump = false end)
else
	ContextActionService:BindAction("Jump", function(action, userInputState, inputObject) doJump = (userInputState == Enum.UserInputState.Begin) end, false, Enum.KeyCode.Space, Enum.KeyCode.ButtonA)
end

game:GetService("RunService").RenderStepped:connect(function()
	if player.Character ~= nil then
		if player.Character:FindFirstChild("Humanoid") then
			if doJump == true then
				jump()
			end
			player.Character.Humanoid:Move(Vector3.new(0,0,-1), false)
		end
	end
end)
카메라 스크립트
local camera = game.Workspace.CurrentCamera
local player = game.Players.LocalPlayer

camera.CameraType = Enum.CameraType.Scriptable

local targetDistance = 30
local cameraDistance = -30
local cameraDirection = Vector3.new(-1,0,0)

local currentTarget = cameraDirection*targetDistance
local currentPosition = cameraDirection*cameraDistance

game:GetService("RunService").RenderStepped:connect(function()
	local character = player.Character
	if character and character:FindFirstChild("Humanoid") and character:FindFirstChild("HumanoidRootPart") then
		local torso = character.HumanoidRootPart
		camera.Focus = torso.CFrame
		if torso:FindFirstChild("FastStart") == nil then
			camera.CoordinateFrame = 	CFrame.new(Vector3.new(torso.Position.X, torso.Position.Y + 10, torso.Position.Z - 20) + currentPosition,
				Vector3.new(torso.Position.X,  torso.Position.Y, torso.Position.Z - 20) + currentTarget)
		else
			--Lower camera for fast start
			camera.CoordinateFrame = CFrame.new(Vector3.new(torso.Position.X, torso.Position.Y - 15, torso.Position.Z - 20) + currentPosition,
				Vector3.new(torso.Position.X,  torso.Position.Y - 15, torso.Position.Z - 20) + currentTarget)
		end
	end
end)
보상추가하기


local db = true
script.Parent.Touched:connect(function(hit)
	if hit.Parent:FindFirstChild("Humanoid") ~= nil then
		if db == true then
			db = false
			script.Parent.Transparency = 1
			local player = game.Players:GetPlayerFromCharacter(hit.Parent)
			player.leaderstats.Coins.Value = player.leaderstats.Coins.Value + 1
			script.Sound:Play()
			script.Parent.Transparency = 1
			wait(1)
			db = true
			script.Parent.Transparency = 0
		end
	end
end)
획득 후 사라지게 만들기 위해서는
local db = true
script.Parent.Touched:connect(function(hit)
if hit.Parent:FindFirstChild("Humanoid") ~= nil then
if db == true then
db = false
script.Parent.Transparency = 1
local player = game.Players:GetPlayerFromCharacter(hit.Parent)
player.leaderstats.Coins.Value = player.leaderstats.Coins.Value + 1
script.Sound:Play()
script.Parent.Transparency = 1
wait(1)
--db = true
script.Parent.Transparency = 0 -- 투명 속성 값을 0으로 바꿔준다
end
end
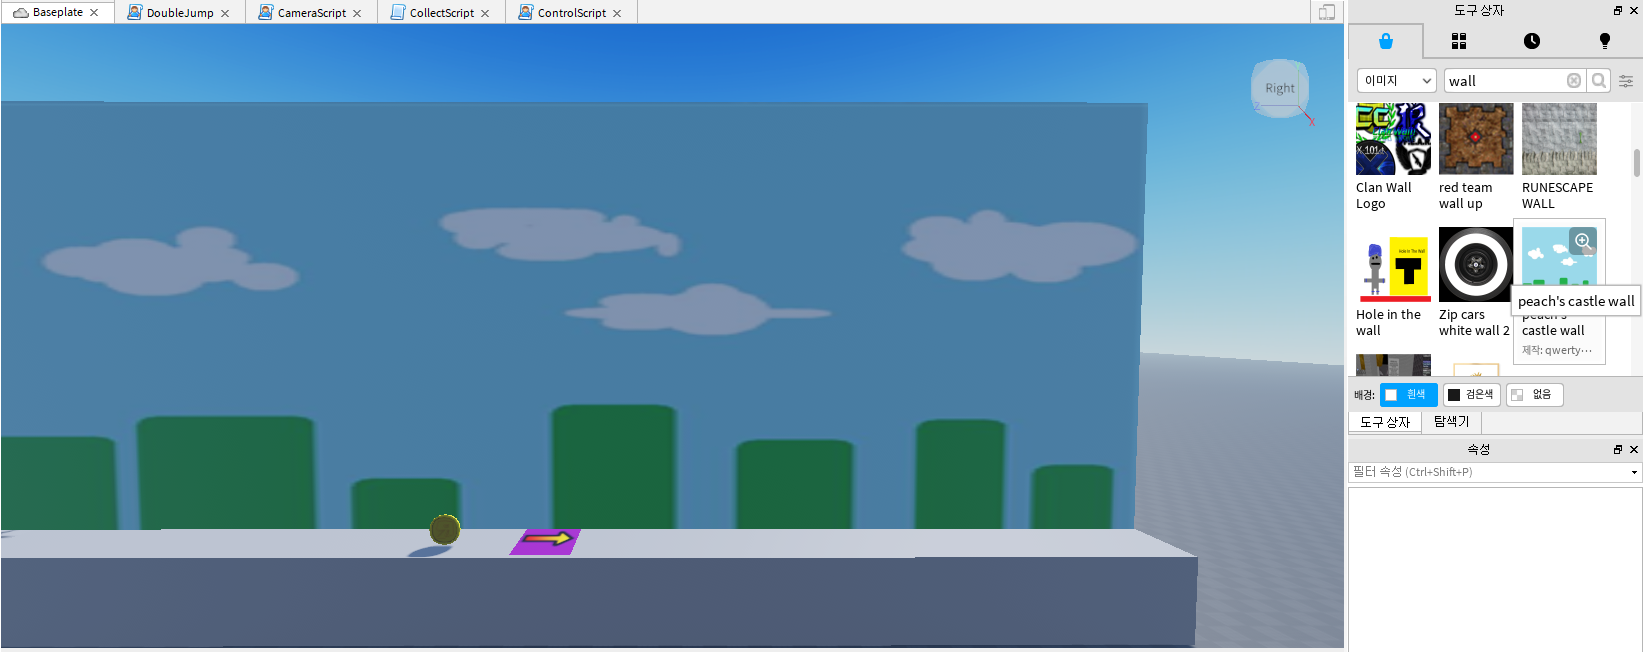
end)배경넣기
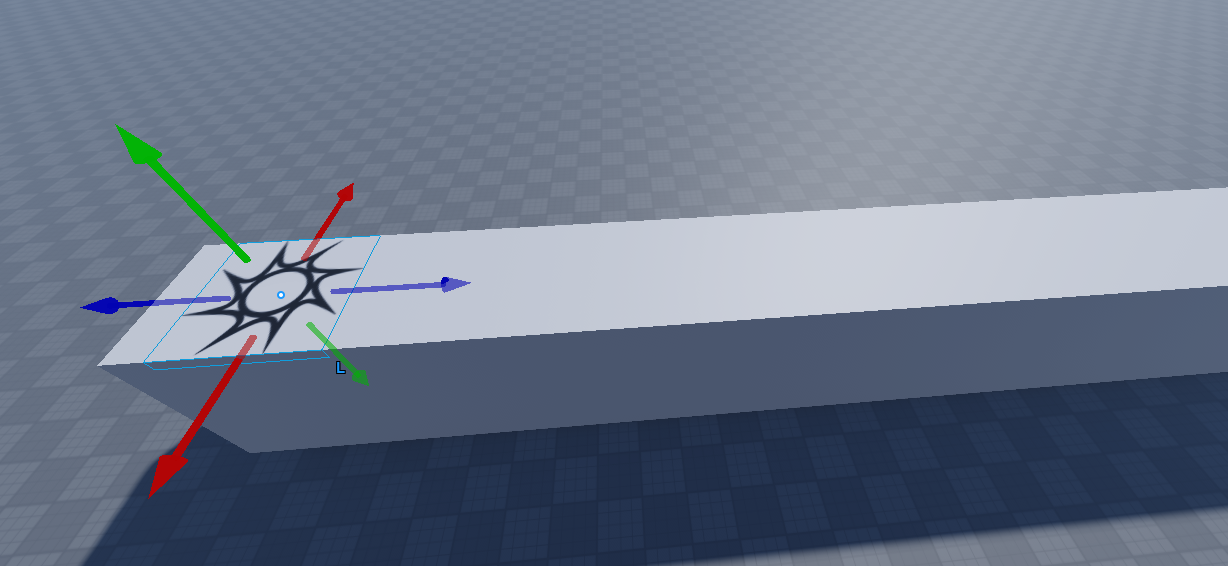
점프 아이템 추가

이단점프
--여기가 첫번째 줄
local UserInputService = game:GetService("UserInputService") -- 키보드 인식을 위해(13번째 줄)
local localPlayer = game.Players.LocalPlayer -- 플레이어 구해줌
local character -- 캐릭터를 담기위한 변수(28줄)
local humanoid -- 휴머노이드를 담기 위한 변수(29줄)
print("jumpscriptloaded")
local canDoubleJump = false -- 이단점프가능한가?(제어)
local hasDoubleJumped = false -- 이단점프를 했는가?
local oldPower -- 원래점프력담기위한 변수(32줄)
local TIME_BETWEEN_JUMPS = 0.2 -- 점프하고 두번재 할때까지의 시간차
local DOUBLE_JUMP_POWER_MULTIPLIER = 2 -- 두번째 점프할때 원래점프력보다 몇배 더 강하게 하는가?

UserInputService.JumpRequest:connect(function() -- 점프요청을 함수로 받음
	if not character or not humanoid or not character:IsDescendantOf(workspace) or
		humanoid:GetState() == Enum.HumanoidStateType.Dead then
		--캐릭터가 없거나, 휴머노이드가 없거나, 캐릭터가 workspace에 없거나, 캐릭터가 죽어있으면,
		return -- 함수 취소
	end

	if canDoubleJump and not hasDoubleJumped then -- 이단점프가능한가? 가 참이고, 이단점프했는가? 가 참이 아닌경우,
		hasDoubleJumped = true -- 더블점프한 상태라고 표시해줌
		humanoid.JumpPower = oldPower * DOUBLE_JUMP_POWER_MULTIPLIER -- 캐릭터 휴머노이드에서 점프력 설정해줌
		humanoid:ChangeState(Enum.HumanoidStateType.Jumping) -- 캐릭터 점프
	end
end)

local function characterAdded(newCharacter) --47줄이나 50줄에서 오는 함수
	character = newCharacter -- 캐릭터 구해줌
	humanoid = newCharacter:WaitForChild("Humanoid") -- 캐릭터 휴머노이드 구해줌
	hasDoubleJumped = false  --이단점프했는가? 거짓으로 설정
	canDoubleJump = false -- 이단점프가능한가? 거짓으로 설정
	oldPower = humanoid.JumpPower -- 원래 점프력 저장

	humanoid.StateChanged:connect(function(old, new) -- 휴머노이드 상태가 바뀔 때 함수 발동, 입력변수(전상태, 현재상태)
		if new == Enum.HumanoidStateType.Landed then -- 착지상태인경우
			canDoubleJump = false -- 이단점프가능한가? 거짓으로 설정
			hasDoubleJumped = false --이단점프했는가? 거짓으로 설정
			humanoid.JumpPower = oldPower -- 점프력되돌림(22줄에서 바꿈)
		elseif new == Enum.HumanoidStateType.Freefall then -- 떨어지는 상태인경우
			wait(TIME_BETWEEN_JUMPS) -- 10줄에서 정해준것만큼 기다림
			canDoubleJump = true -- 이단점프가능한가? 참으로 설정
		end
	end)
end

if localPlayer.Character then --캐릭터가 이미 있는 경우
	characterAdded(localPlayer.Character) -- 27줄 함수로 연결
end

localPlayer.CharacterAdded:connect(characterAdded) --캐릭터 스폰된경우 27줄 함수로 연결
반응형
'로블록스' 카테고리의 다른 글
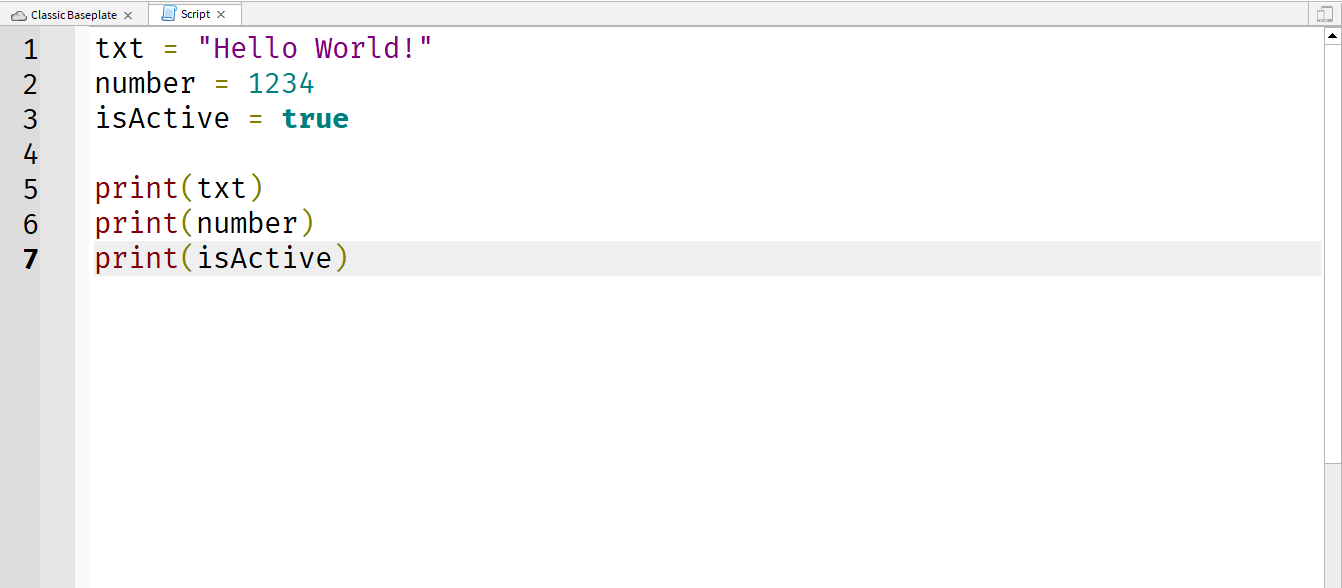
| [Robloxs Studio] 로블록스 스튜디오 #1. 루아(Lua) 기초 코딩 - 변수(Variable) 의 이해 와 출력 (0) | 2021.09.05 |
|---|---|
| [Roblox Studio] 로블록스 스튜디오 - 설치 및 기본 (0) | 2021.09.03 |